Considering an electric switch? You’re not alone.
Since 80% of people charge their electric vehicles at home, calling them familiar with the roads isn’t right. But charging your new set of wheels is more complicated than plugging it into any outlet. Older homes can’t handle high-powered charges. If you don’t upgrade, you risk blown breakers, electrical fires, and other safety hazards.
Do not worry; upgrading your home for an electric vehicle is not rocket science. From panel upgrades to selecting the proper charger, we’ll guide you through the straightforward and safe way to charge up. Let’s keep your home on par with your vehicle, without a hitch.
Step 1: Assess Your Home’s Electrical System
Examine your home electrical system in detail before charging your new electric vehicle. Otherwise, blown fuses or other safety problems may occur.
Here’s where to start:
Inspect Your Electrical Panel
Locate your master circuit breaker panel, which is usually found in the garage or basement, and determine its amperage rating.
Older homes will have 100-amp panels, and new homes can have 200-amp panels. A Level 2 charger needs only one 40-amp circuit. Suppose your panel already has AC units, dryers, or other high-load appliances. In that case, a 100-amp system might not be enough. Installing 200 amps gives you some margin and future-proofs your installation.
Calculate Your Current Power Consumption
Your home needs power for many things, including lights, refrigerators, stoves, and gaming systems. Now, we will add a car charger for some hours of draw. An electrician can calculate the load. Check your home’s total electrical load. Make sure your wiring can handle the extra load. This will help prevent tripped circuit breakers or burned wires.
Check Your Wiring
Older homes can have old wiring that is not rated to handle power loads. Check for frayed wires, loose wires, or hot outlets. Safety first: Install GFCI outlets (those with “test” and “reset” buttons) in wet areas like garages to prevent shock.
Plan for Upgrade
If your panel is inadequate or your wiring is questionable, upgrades are inevitable. A dedicated circuit for your charger keeps other appliances from competing for juice. Some homes may need surface protectors or new breakers to meet local regulations.
A little homework in advance can save you trouble (or a fire hazard) later. Safety is our top priority.
Step 2: Understand the Panel Upgrades Process
So you’ve measured your electrical system—now get out of the toolbox and upgrade the panel. This is a do-it-yourself task: replace parts, future-proof, and prepare your home’s electrical “engine” for your EV’s needs (and more).
Here’s how you do it:
From Measures to Actions
Your electrician employs the load calculations from Step 1 to create the upgrade. In the case of your clunker (i.e., 100 amps or older fuse boxes), he or she will guide you to upgrade to a new 200-amp panel.
Pro Tip: Dream bigger than you do—in the future, you might need two EVs or solar panels.
Permits Made Easy
There is no paperwork hassle—your electrician submits permits to the local building department. With little red tape, it guarantees your upgrade is code-approved, making your insurance company smile.

The Nitty-Gritty Work
- Power Down: You will leave your home in darkness for a short time as they upgrade the old panel to a brand-new one.
- 40-50 amp: A special breaker that serves the purpose of your EV charger. No more battling with the dryer for power.
- Smart Upgrades: Ask if they have surge protectors or smart panels, like alarm systems for your electricity.
Bidirectional Charging (Cool Factor Alert)
Want your EV to charge your home when the power goes out? This is possible with a feature called ‘bidirectional charging.’ A 200-amp panel will accommodate bidirectional charging, allowing your EV to be a backup power source for your home during outages. It’s not sci-fi—it’s thoughtful planning.
Inspection & Final Tests
Before throwing the switch, an inspector verifies it’s up to code. Your electrician carefully inspects the grounding, wiring polarity, and breaker function. No shortcuts here—safety isn’t optional.
Timeline & Tips
- How Long? Straight exchanges take 6-8 hours; more involved jobs (like solar prep installation) can take up to 2 days.
- Cost Conscious: Budget for the panel type, labor, and permits (smart panels are more expensive but track energy).
- Two EVs Later? Install a subpanel today to split power between the chargers in the future.
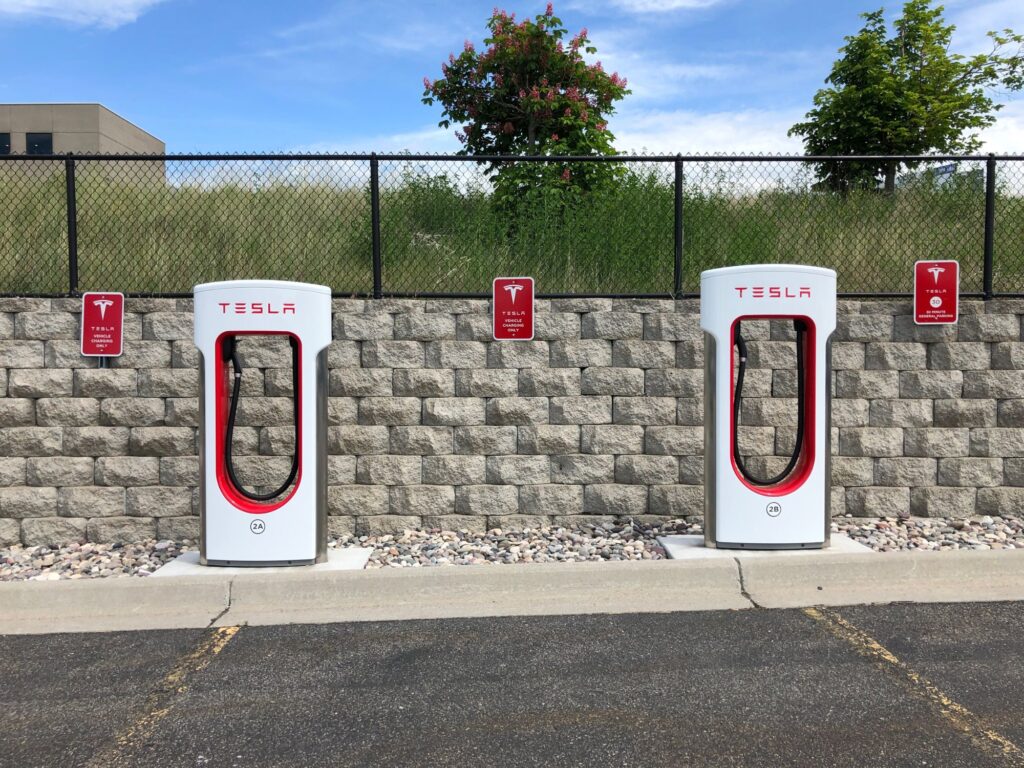
Step 3: Choose the Right EV Charger
Picking an EV charger is unlike grabbing a phone charger from a shelf. You must discover the one that will fit your car, home, and life. That is how you do not end up with the “oops, wrong plug.”
Know Your Car’s Appetite
- Plug Check: Teslas need an NACS plug, but most need J1772. Check your car’s manual—don’t guess.
- Speed Matters: Level 1 (120V) is slower than a sloth and is best for emergencies. Level 2 (240V) is the MVP, which charges your battery overnight.
- Don’t Overbuy: If your vehicle’s onboard charger is just 32 amps, a 50-amp charger won’t do the job any faster.
Your Home’s Electrical “Diet”
- Panel Power: Do you have a 100-amp panel? If yes, you need to switch Level 2 charging to 200 amps. Let the experts call the shots—leave it to them.
- Plug-in vs. Hardwired: Plug-in chargers are like giant toasters (basic but slower). Hardwired chargers are quicker and more durable but need professional installation.
Smart or Simple
- Wi-Fi Magic: Charge when power is cheap, track costs, or flaunt your eco-friendly stats. Companies such as ChargePoint and Emporia get this right.
- Cable Length: Charger to car. Too short? You’ll be playing parking Tetris every night.
Future-Proof Like a Pro
- Backup Power: Want to charge your EV to run your refrigerator in case of a power loss? Choose bidirectional charging (it involves a 200-amp panel).
- Two EVs later? Install a subpanel now to distribute power between chargers.
Brands That Won’t Flake
- Budget Option: Emporia—affordable but good.
- Tesla Enthusiasts: Tesla Wall Connector—connects to your car’s app.
- Style Wins: Andersen—a wall décor that doubles as a charger.
Don’t Leave the Little Things Behind
- Use only UL-approved chargers for safety. No fakes.
- At least 3 years warranty. Peace of mind > saving $50.
Step 4: Install Smart Load Management
Imagine innovative load management as your home’s “electricity traffic cop.” It keeps your lights on, your electric car charged, and your bank account smiling by balancing power like a pro.
Here’s how to claim it as your own:
Mechanism of Functionality
- Real-Time Power Diet: Smart systems (e.g., Wallbox or Emporia) track your home’s power consumption. When your AC comes on, they roll back your EV charger to prevent the breaker from tripping.
- Off-Peak = Huge Discounts: Program your charger to fill up your car when electricity costs less at 2 AM. Some companies will even pay you to charge off-peak.
Why You Need It
- No Meltdowns: Don’t get overloaded; that can burn out your panel or leave you in the dark.
- Future-Proofing: Want a second EV or solar panels? Innovative systems grow with you.
- Solar Love: Pair it with rooftop solar to power your car with sunlight. Apps like Zappi prefer solar power over grid electricity, which saves money and the planet.
Gear Up
- Smart Chargers: Look for models with “dynamic load balancing” (a nice term for saying they play nice with your home). ChargePoint or Tesla models come with this feature.
- CT Clamps: These $50 devices monitor power flow in your home. Your charger uses that data to prevent circuit overload.
DIY Tips
- Start Small: One EV? Use your charger app to schedule overnight charging. You don’t need any other gear.
- Go Pro for Two+ EVs: Install a DCC Electric or Span Panel configuration. These split the power between cars and your fridge, so nobody argues.
Solar Bonus Round
- Solar-Powered Charging: Clever setups charge the sun first, then fall back on the grid. This results in fewer guilt trips and more mileage.
- Battery Buddies: Have a home battery (e.g., Tesla Powerwall) installed to store sunshine for midnight charging binges.
Step 5: Navigate Incentive Programs to Save Money
Let’s talk free-ish money. Governments and utilities wish to subsidize some of the expenses of your EV upgrades—here’s how to get your hands on every dollar:
Federal Tax Credit (30C):
- What it Covers: 30% discount on your EV charger and installation (parts, labor, wiring).
- Max Savings: Up to $1,000.
- Example: Spend 3,000 and get 900 back.
Rules:
- Install at your primary residence in an eligible area.
- Save receipts for it all (charger, labor, parts).
State & Utility Perks:
- California: Smart charger rebates.
- Michigan (DTE Energy): $500 rebate on Level 2 chargers.
- Massachusetts: Extra discounts for low-income home holds.
Pro Tip: Google “[Your State] + EV charger rebate” or check with your utility and ask, “Do you have any discounts?”
Sneaky Savings:
- Off-Peak Rates: Charge at night and pay lower bills.
- Solar Combo: Get solar panels and a charger for stacked tax credits.
Don’t Miss Out
- Deadlines: Most rebates expire annually—submit your request without delay!
- Paperwork: Save every receipt (don’t forget the electrician’s invoice).
Step 6: Professional Installation Best Practices
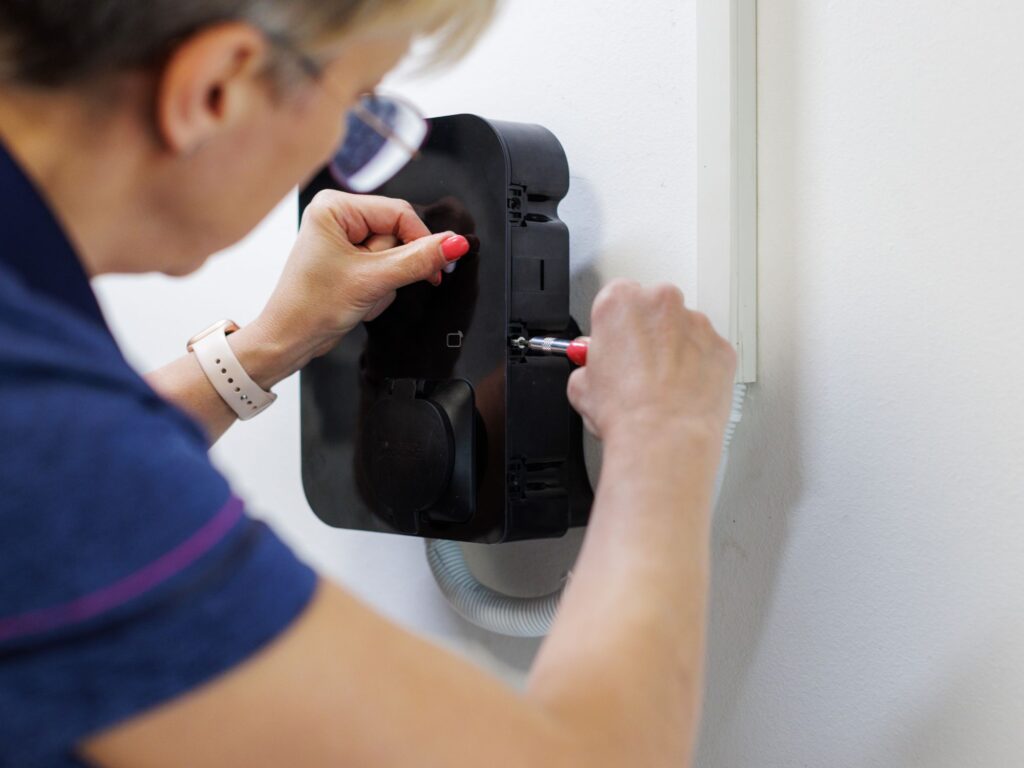
Don’t risk a do-it-yourself debacle—your EV charger requires expert care.
Here’s how to do it in a way that prevents your system and your mind from burning out:
Hire the Right Pro
- EV-Savvy Electricians Only: Avoid the generic handyman. Check for certifications like Qmerit or NABCEP. These skilled electricians focus on “EV chargers.”
- Check Reviews: Look at Google or Yelp reviews. You’ll get extra points if they have charged your neighbor’s Tesla.
- Ask About Permits: Pros handle permits and inspections. If they shrug, walk away.
Installation Must-Dos
- Dedicated Circuit: Your charger needs its own 240V circuit—no sharing with dryers or hot tubs.
- Copper Wiring: Dirt-cheap aluminum? No. Demand heavy copper wires to avoid meltdowns.
- Weatherproof Spot: Mount indoors or under a roof if outside. Rain + outlets = bad romance.
- GFCI Breaker: This $50 piece of equipment stops shocks. Not negotiable.
Post-Installation Smarts
- Test Drive: Plug in and check for weird noises or sparks. If it hums calmly, you’re golden.
- Annual Checkups: These are like car tune-ups, but for your charger. $150 now beats $1,500 later.
- No Extension Cords: Ever. They’re fire starters.
Future-Proof Like a Boss
- Conduit Tubes: Leave empty tubes in walls for easy upgrades later.
- Think Bigger: Installing one charger? Run wiring for two. Future you, with a second EV, will high-five present you.
Pro Tip: Snap the setup before the wall mount. It’s helpful for troubleshooting (or bragging).
Power Up Your Home (and Life)
Going electric is an excellent move for your home. But preventing blown fuses or costly mistakes takes planning.
Start by double-verifying your panel, hiring a pro to perform upgrades, and choosing a charger appropriate for your vehicle. Innovative systems get power in balance like an expert, and rebates can get you there for less. Remember: future-proof with a 200-amp panel or extra wiring for that second electric car. Don’t go DIY drama—let a certified electrician do it for safety and ease. If you’re looking for an electrician in Madera, CA, give Madera Electrician a call. They service the whole Central Valley, and Vince is one of the best in the business.
With proper planning, Energy Kinetics can help you fuel your vehicle (and even your home) without sweating. Contact us at info@energy-kinetics.com for advice on smart electrical upgrades for your home!